So, you’ve got an idea for an app. Maybe it’s a productivity tool, a fitness tracker, a journal, or something totally new. The only problem? You’re not a coder. You don’t know what “JavaScript” means, and the idea of writing lines of code sounds like learning a new language overnight.
Good news: you don’t have to be a developer to build and launch your own app.
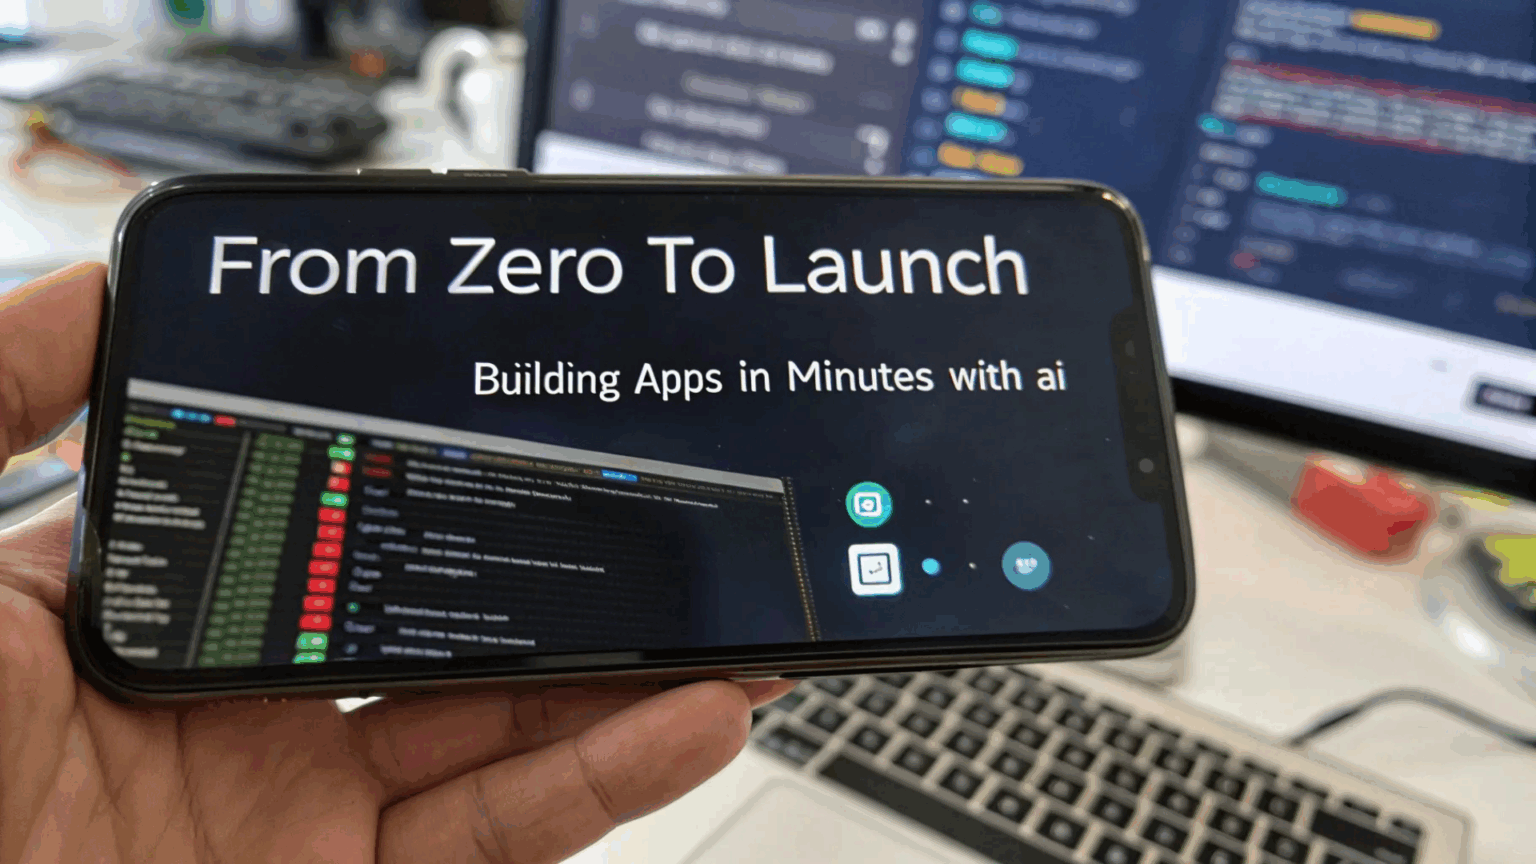
Thanks to modern no-code and low-code platforms, you can bring your idea to life without writing a single line of traditional code. Whether you want to solve a real problem, start a business, or just make something cool—this guide will walk you through the steps to go from zero to launch.
🧠 Step 1: Start with a Simple, Specific Idea
You don’t need to reinvent the internet. Start with an app that solves one problem well.
Instead of “I want to build a wellness platform,” try:
“I want to build a simple mood tracker that lets users log how they feel each day and view a weekly summary.”
✅ Ask Yourself:
- What is the core function?
- Who is it for?
- What problem does it solve?
Start small. You can always add features later.
📝 Step 2: Sketch It Out (No Tech Required)
Grab a notebook or use free tools like Whimsical or Figma. Sketch your app screens and how users move from one step to the next.
Include:
- What the user sees first (Home/Login)
- What actions they can take (Click buttons, submit a form, view results)
- How data flows (Does it save? Send a notification?)
This visual “blueprint” will guide the building process.
⚙️ Step 3: Pick Your No-Code Platform
Here are beginner-friendly platforms that let you build apps with drag-and-drop tools:
🛠️ For mobile apps:
- Adalo – Great for simple apps with databases (like to-do lists or trackers)
- Thunkable – Flexible and beginner-friendly with mobile functionality
🖥️ For web apps:
- Bubble – Powerful, visual programming for web-based tools
- Glide – Turns Google Sheets into apps (perfect for MVPs)
Most offer free tiers to get started. Pick the one that feels intuitive to you.
🏗️ Step 4: Build Your MVP (Minimum Viable Product)
Start with just the essential features:
- One login screen (optional)
- One main feature (input mood, create a list, track habits)
- One simple display of results (like a graph or list)
Don’t worry about making it perfect. Just get something working.
Pro Tip:
Use tutorials! Most no-code tools have step-by-step video guides. You can literally follow along and build as you go.
🔍 Step 5: Test It with Real People
Before you launch publicly, let 3–5 friends or potential users try your app.
Ask:
- Is it easy to use?
- Is anything confusing?
- Did it actually help them?
Use their feedback to make quick improvements.
🚀 Step 6: Publish Your App
Once you’re ready, most platforms let you:
- Share a public link (easy for web apps)
- Publish to the App Store or Google Play (mobile apps may require a paid plan)
You now have a live app. Yes, you built an app.
📈 Step 7: Grow, Improve, or Pivot
Now that your app is live:
- Add new features based on user requests
- Collect feedback regularly
- Consider turning it into a business (add a subscription, collect emails, etc.)
You don’t have to get it perfect the first time. Many of the most successful apps started as basic versions with one key feature.
💡 Real-Life Examples
- Lunch Money started as a spreadsheet to track expenses. Now it’s a polished app.
- Flappy Bird was created in 2–3 days and became a global sensation.
- Glide apps have been used to launch COVID response tools, class schedules, and team organizers—often by non-programmers.
You don’t need to be technical to be innovative. You just need the willingness to start.
✨ Final Words: If You Can Use a Smartphone, You Can Build an App
The barrier to entry has never been lower. You have access to the tools, the tutorials, and the creative power—right now.
So don’t let the word “programmer” scare you.
You’re not just an “idea person.” You’re a builder.
All you need to do is take the first click.